
Search for your product name or keyword
BMP180 GY-68 Barometric Pressure Altitude I2C Sensor Module
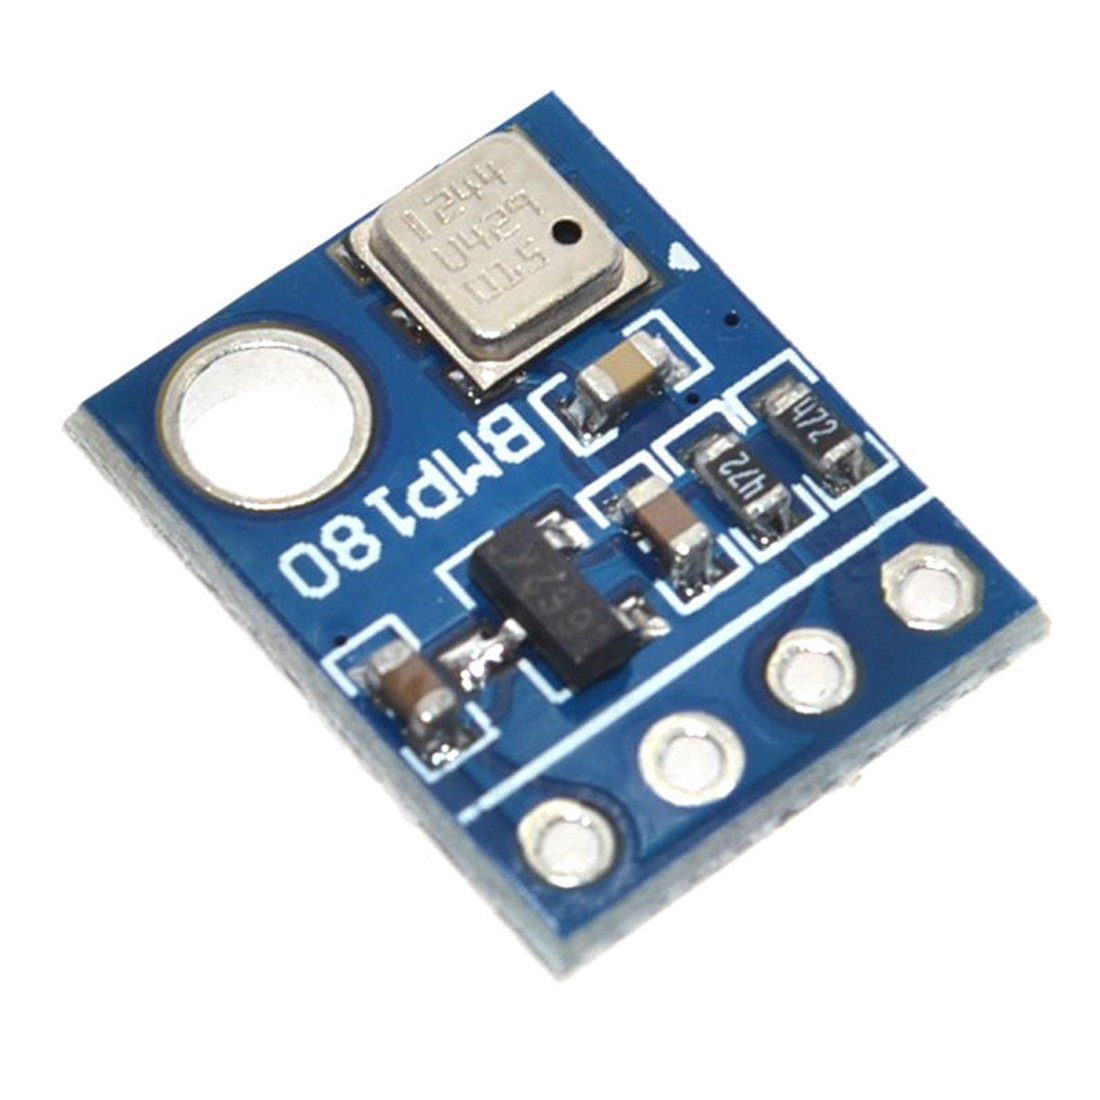 This support web page provides a comprehensive guide to using the BMP180 GY-68 Barometric Pressure Altitude I2C Sensor Module. This module is a high-precision, miniature, and ultra-low power pressure sensor ideal for various applications, including altitude determination, weather forecasting, and indoor/outdoor navigation.
Introduction
The BMP180 GY-68 is a barometric pressure sensor that can also measure temperature. It communicates via the I2C protocol, making it easy to interface with a wide range of microcontrollers and microprocessors. Its small size, low power consumption, and high accuracy make it an excellent choice for DIY electronics projects, mobile devices, and embedded systems. This module comes fully calibrated, simplifying integration into your projects.
Features
- High Precision: Measures pressure with an absolute accuracy down to 0.03 hPa.
- Low Power Consumption: Operates with a minimal 5μA current draw at 1Hz.
- I2C Interface: Communicates easily with microcontrollers using the I2C protocol. Includes on-board pull-up resistors for ease of use.
- Wide Pressure Range: Measures pressure from 300hPa to 1100hPa, corresponding to altitudes of approximately +9000m to -500m (29,500ft ~ -1600ft).
- Temperature Sensor: Integrated temperature sensor with a precision of 0.5 °C.
- Compact Size: Small footprint of 10mm x 13mm x 3mm (0.4 x 0.51 x 0.12 inches).
- Fully Calibrated: Ready to use out of the box with pre-calibrated data.
- High I2C Speed: Supports I2C speeds up to 3.5MHz.
- Low Noise: Offers very low noise measurements, down to 0.02hPa (17cm).
Specifications
| Parameter | Value | Unit |
|---|---|---|
| Supply Voltage | 1.8 to 3.6 | V DC |
| Power Consumption | 5 | μA at 1Hz |
| Interface | I2C | |
| Max I2C Speed | 3.5 | MHz |
| Pressure Range | 300 to 1100 | hPa |
| Altitude Range | +9000 to -500 | m |
| Altitude Range | 29,500 to -1600 | ft |
| Resolution (Low Power) | 0.06 | hPa (0.5m) |
| Resolution (High Linearity) | 0.03 | hPa (0.25m) |
| Temperature Precision | 0.5 | °C |
| Dimensions | 10 x 13 x 3 | mm |
Pinout and Connections
The BMP180 GY-68 module has the following pins:
| Pin | Name | Description |
|---|---|---|
| 1 | VIN | Power supply input. Connect to a voltage source between 1.8V and 3.6V DC. |
| 2 | GND | Ground. Connect to the ground of your power supply and microcontroller. |
| 3 | SCL | I2C Serial Clock. Connect to the SCL pin of your microcontroller. The module includes pull-up resistors on this pin. |
| 4 | SDA | I2C Serial Data. Connect to the SDA pin of your microcontroller. The module includes pull-up resistors on this pin. |
I2C Communication
The BMP180 communicates using the I2C protocol. The default I2C address of the BMP180 is 0x77 (119 in decimal). You’ll need to use this address in your microcontroller code to communicate with the sensor.
Important Considerations for I2C:
- Pull-up Resistors: This module includes built-in pull-up resistors on the SDA and SCL lines. In most cases, you will not need to add external pull-up resistors. However, if you are using long wires or experiencing communication issues, you may need to experiment with adding weaker pull-up resistors (e.g., 10kΩ) to the SDA and SCL lines.
- Voltage Levels: Ensure your microcontroller’s I2C voltage levels are compatible with the BMP180’s operating voltage (1.8V to 3.6V). If your microcontroller operates at 5V, you will need to use a logic level converter to avoid damaging the sensor.
- Address Conflicts: Check for potential I2C address conflicts with other devices on your I2C bus. If a conflict exists, you may need to use an I2C multiplexer or choose a different sensor.
Example Applications
- Altitude Measurement: Determine the height of a robot, plane, or UAV.
- Weather Forecasting: Monitor barometric pressure changes for weather prediction.
- Indoor/Outdoor Navigation: Assist with navigation in environments where GPS signals are weak or unavailable.
- Vertical Speed Indicator: Measure the rate of ascent or descent.
- Fan Power Control: Adjust fan speed based on ambient temperature.
- GPS Precision Navigation: Improve navigation accuracy through dead reckoning and altitude correction.
- Leisure, Sports and Medical Health Monitoring: Track altitude changes during hiking, running, or other activities.
Using the BMP180 with a Microcontroller (Example – Arduino)
This example demonstrates how to read temperature and pressure data from the BMP180 using an Arduino. You will need the following:
- Arduino board (e.g., Arduino Uno, Nano)
- BMP180 GY-68 module
- Jumper wires
- A suitable BMP180 Arduino library (e.g., the “SFE_BMP180” library by SparkFun)
Steps:
- Connect the BMP180 to the Arduino:
- BMP180 VIN to Arduino 3.3V or 5V (depending on your Arduino board’s voltage tolerance. Using 3.3V is generally safer.)
- BMP180 GND to Arduino GND
- BMP180 SCL to Arduino SCL (A5 on Arduino Uno/Nano)
- BMP180 SDA to Arduino SDA (A4 on Arduino Uno/Nano)
- Install the BMP180 Library:
- Open the Arduino IDE.
- Go to Sketch > Include Library > Manage Libraries…
- Search for “SFE_BMP180” and install the library by SparkFun.
- Upload the Example Code:
#include <SFE_BMP180.h>#include <Wire.h>SFE_BMP180 pressure; double temp, pressure_val, altitude;void setup(){ Serial.begin(9600);Wire.begin();if (pressure.begin()) {Serial.println("BMP180 init success");} else {Serial.println("BMP180 init fail\n\n");while (1); // Loop forever if communication fails
}}void loop() {// Get temperatureif (pressure.startTemperature()) {delay(pressure.getMeasureDelay());if (pressure.getTemperature(temp)) {Serial.print("Temperature = ");Serial.print(temp, 2);Serial.println(" °C");} else {Serial.println("Error retrieving temperature!\n"); }} else {Serial.println("Error starting temperature measurement!\n"); }// Get pressureif (pressure.startPressure(3)) {// Oversampling setting: 0, 1, 2, or 3delay(pressure.getMeasureDelay());if (pressure.getPressure(pressure_val)) {Serial.print("Pressure = ");Serial.print(pressure_val, 2);Serial.println(" hPa");} else {Serial.println("Error retrieving pressure!\n"); }} else {Serial.println("Error starting pressure measurement!\n"); }// Get altitude altitude = pressure.altitude(pressure_val, 1013.25); // Sea level pressure (hPa)Serial.print("Altitude = ");Serial.print(altitude, 2);Serial.println(" meters");Serial.println(); delay(1000);} - Open the Serial Monitor:
- Upload the code to your Arduino.
- Open the Serial Monitor in the Arduino IDE (Tools > Serial Monitor).
- You should see the temperature, pressure, and altitude readings displayed in the Serial Monitor.
Important Notes:
- Sea Level Pressure: The
altitude()function in the example code uses a default sea level pressure of 1013.25 hPa. For more accurate altitude readings, you should adjust this value based on the current local sea level pressure. You can obtain this information from a local weather service. - Oversampling: The
startPressure()function takes an oversampling setting as an argument (0-3). Higher oversampling values result in more accurate pressure readings but also increase measurement time and power consumption. - Library Compatibility: Ensure the library you choose is compatible with your Arduino board and the Arduino IDE version.
Troubleshooting
- Sensor Not Detected:
- Check the wiring connections.
- Verify the power supply voltage is within the specified range (1.8V to 3.6V).
- Confirm the I2C address is correct (0x77).
- Use an I2C scanner sketch to verify the sensor is visible on the I2C bus.
- Inaccurate Readings:
- Ensure the sensor is not exposed to direct sunlight or drafts, which can affect temperature readings.
- Calibrate the altitude readings by adjusting the sea level pressure value.
- Experiment with different oversampling settings for pressure measurements.
- I2C Communication Errors:
- Check for I2C address conflicts.
- Ensure the I2C pull-up resistors are present (the module has them built-in). If problems persist, try adding weaker external pull-up resistors.
- Reduce the I2C clock speed if you are using long wires or experiencing communication issues.
Safety Precautions
- Do not exceed the maximum supply voltage of 3.6V, as this can damage the sensor.
- Handle the sensor with care to avoid physical damage.
- Protect the sensor from electrostatic discharge (ESD).
Conclusion
The BMP180 GY-68 is a versatile and accurate barometric pressure sensor suitable for a wide range of applications. By following this user manual, you should be able to successfully integrate the sensor into your projects and obtain reliable temperature, pressure, and altitude readings. Remember to consult the datasheet for the BMP180 IC for more detailed technical information.
Where to Buy the BMP180 GY-68 Barometric Pressure Altitude I2C Sensor Module
BMP180 GY-68 Barometric Pressure Altitude I2C Sensor Module on the Envistia Mall website:
https://envistiamall.com/products/bmp180-gy-68-barometric-pressure-altitude-i2c-sensor-module
Copyright © 2025 Envistia Mall
EM-SENSR-0021